
Photigy School Of Photography
JEWELRY WORKSHOP WITH MODEL
+POST PRODUCTION
ONLINE COURSE
About the Course
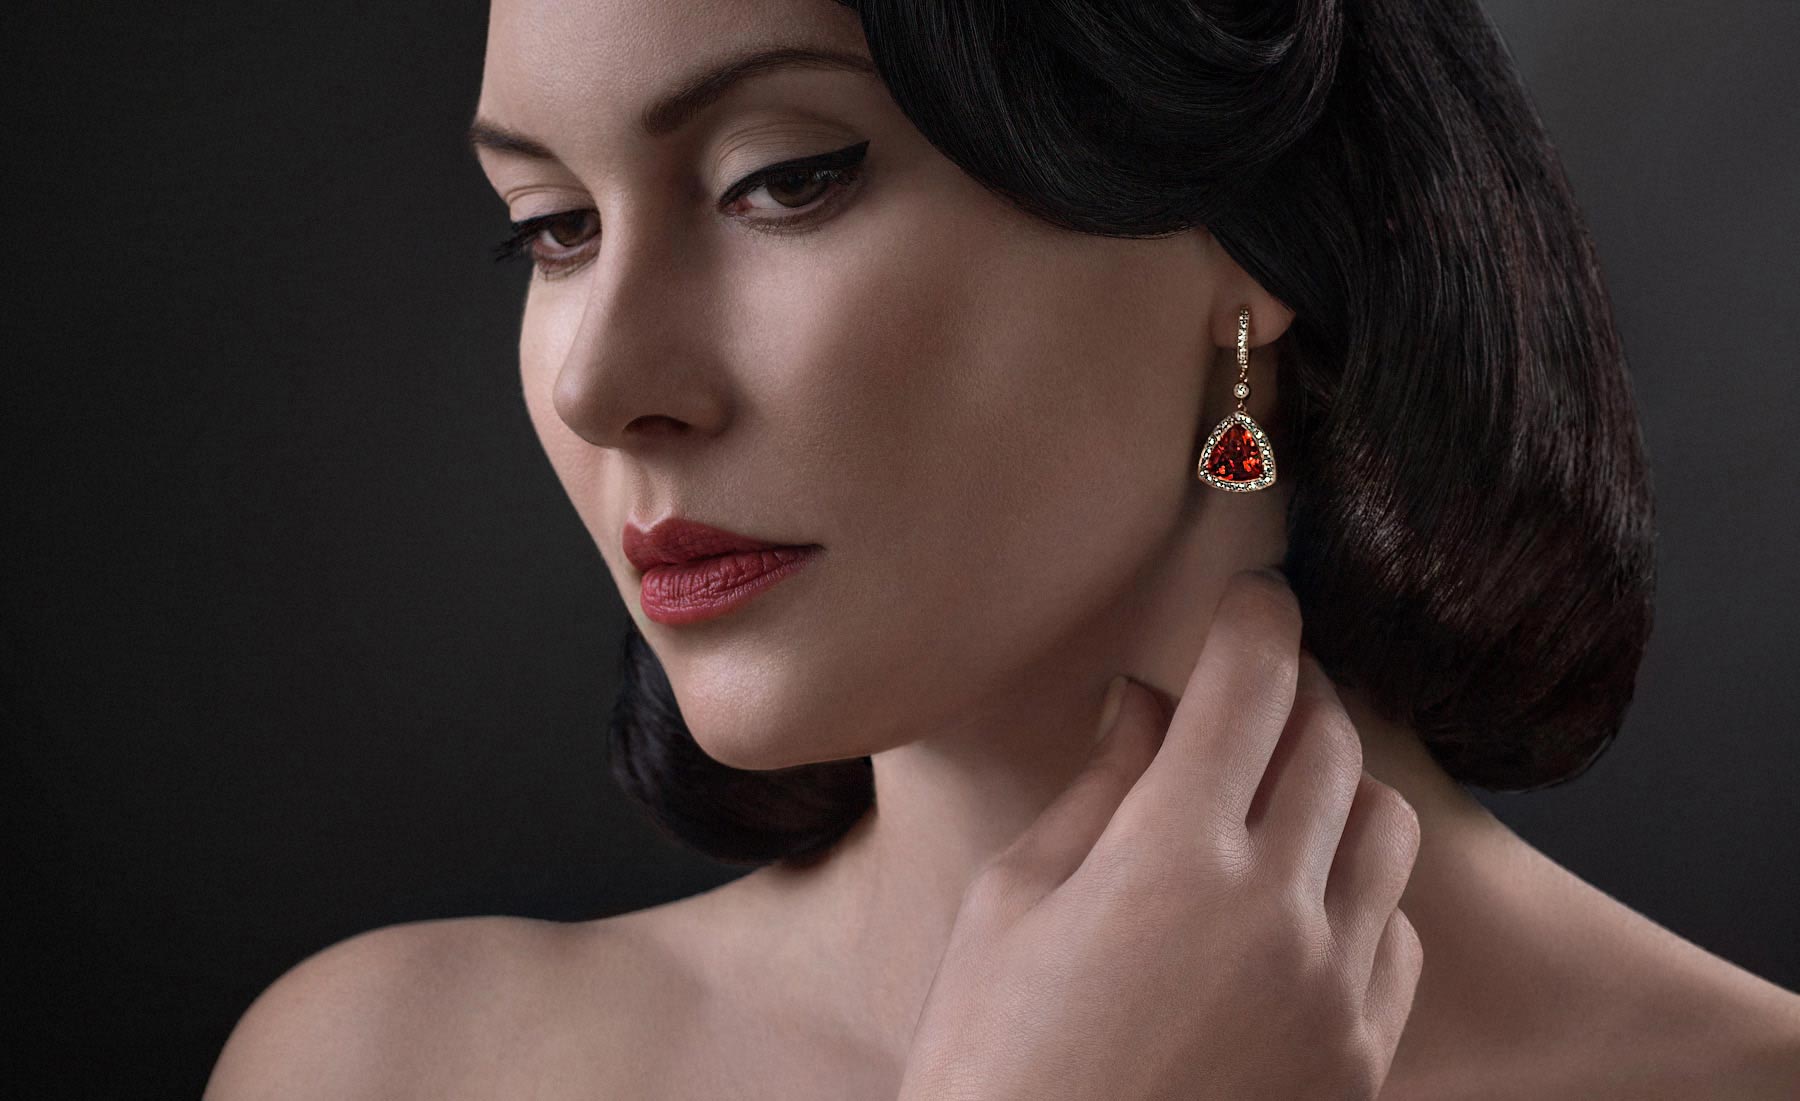
The goal of this course is to show the specifics of working with high-end jewelry on a model. We will show how to mix lighting techniques frequently used for portraiture and fashion with lighting for jewelry.
What You'll Learn:
In this unique course, join Alex Koloskov as he collaborates with photographer Kristina Varaksina to shoot a beautiful assortment of jewelry from Yael Designs, San Francisco, on a professional model. Alex starts by getting some background information from Stefan Patashvili from Yael Designs on what he looks for in a product photographer and why it was important to capture the jewelry images while the items were being worn by the model. From there, Alex begins the process of:
- Learn why it’s often important to feature images of jewelry while it’s being worn.
- Learn how to blend lighting used in fashion and portraiture with lighting for jewelry.
- Learn how to create gorgeous finished images through careful post-production of both the model and the jewelry.
- Get lifetime access to the course and all future updates.

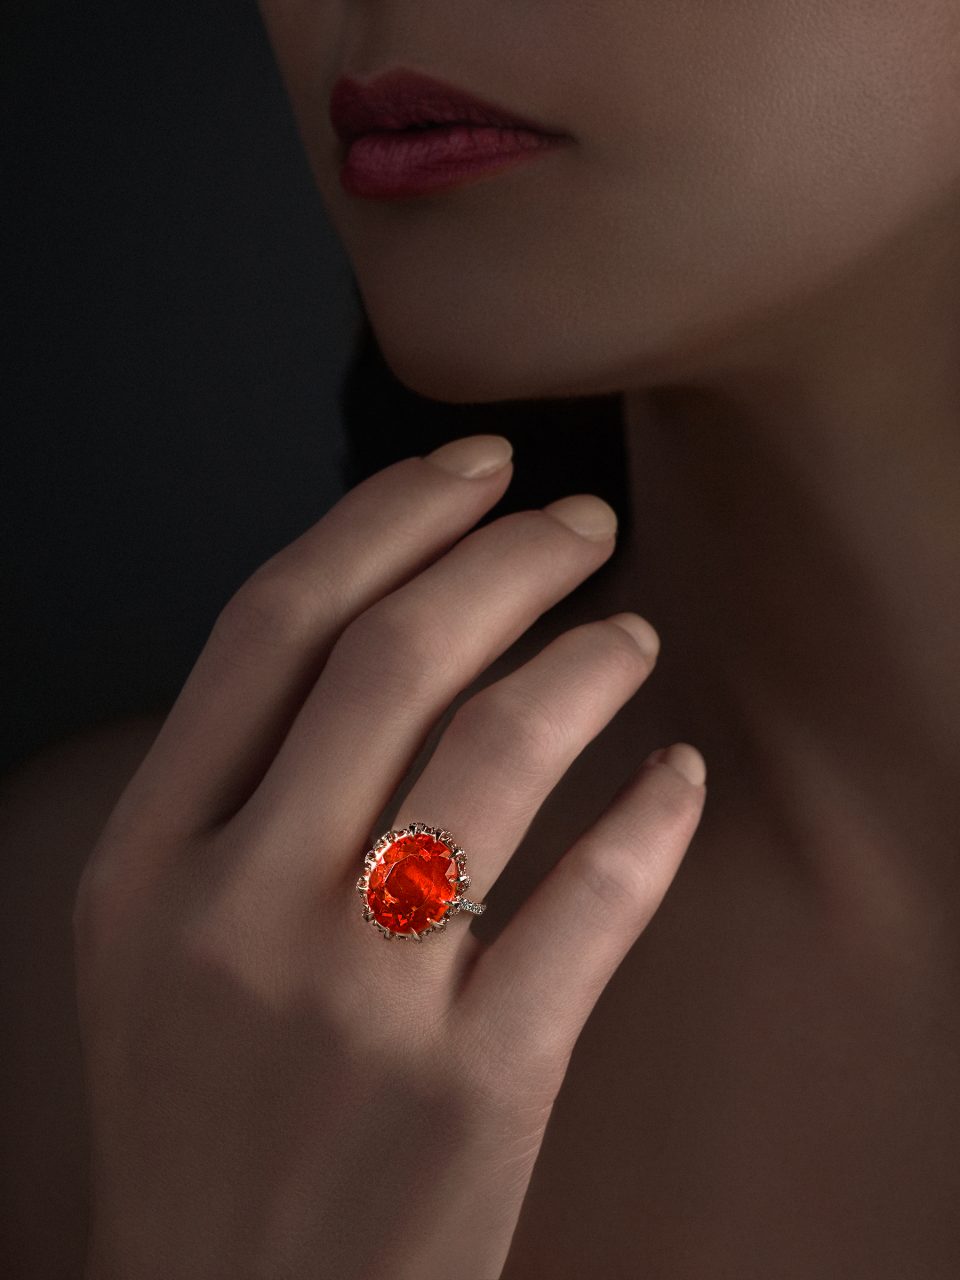
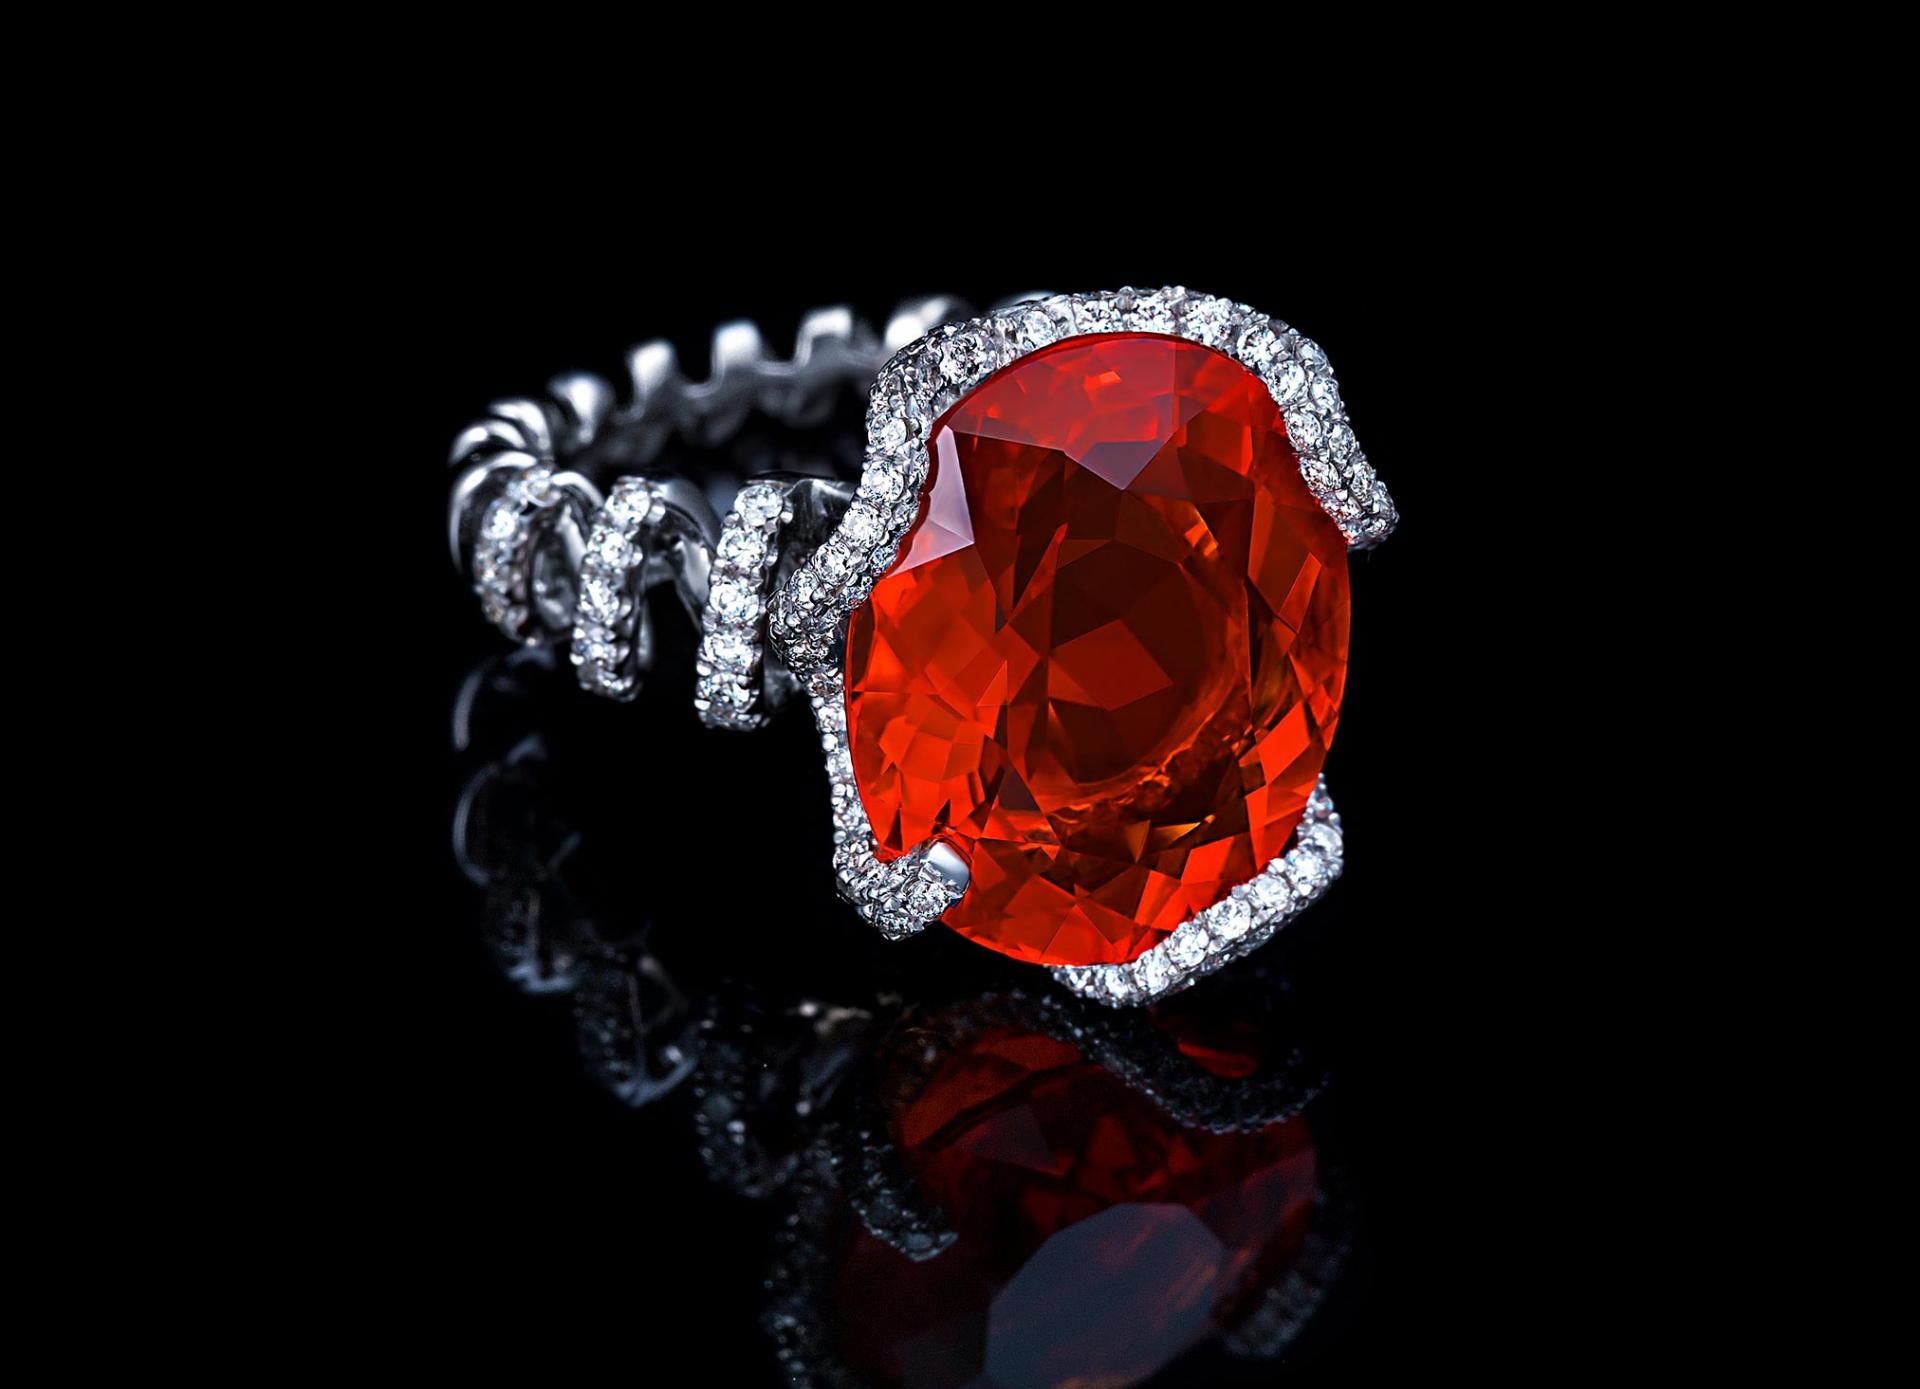
After program you can make photos like this
Sample photos from the program’s video lessons that you will learn.
Final Images
Before-After Post-Production
Left – SOOC (straight out of the camera),
Right– after Adobe Photoshop
SOOC - BEFORE
AFTER
This course is for you, if you:
-
Beginner in jewelry photography or a hobbyist looking for an easy way to start taking images of jewelry, watches and small crafts without spending money on studio equipment.
-
Experienced product/jewelry photographer who are looking for ways to add new, more creative techniques to make their pictures of jewelry standout and will attract more customers and make photography their business more competitive in the market place.
-
Jewelry maker that want to create artistic images of their own products, without hiring a professional photographer and those who want to learn specifics of creating a variety of different image styles for your commercial clients.
Course Curriculum
9 video lessons
01
Business Talk
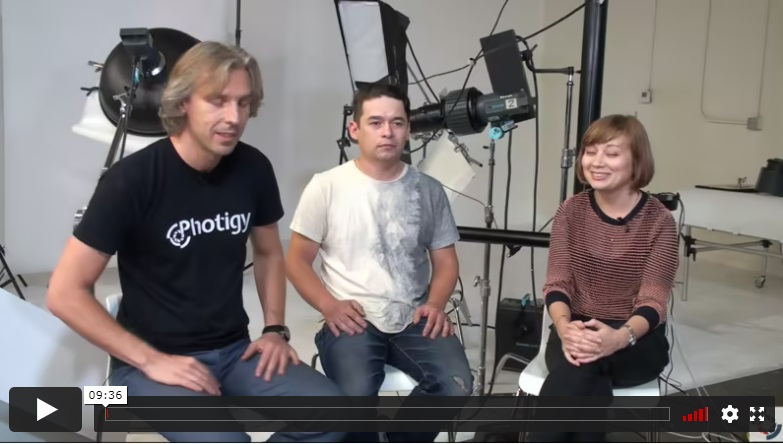
In this informative introduction, Alex sits down with a representative from Yael Design and the photographer Kristina to discuss the goals for a combination shoot featuring the model wearing beautiful pieces of custom jewelry and what a client such as Yael Designs looks for when hiring a commercial product photographer. He also discusses the often controversial topic of working for contacts and exposure vs. paid compensation and when such a decision may be worthwhile.
02
Gear
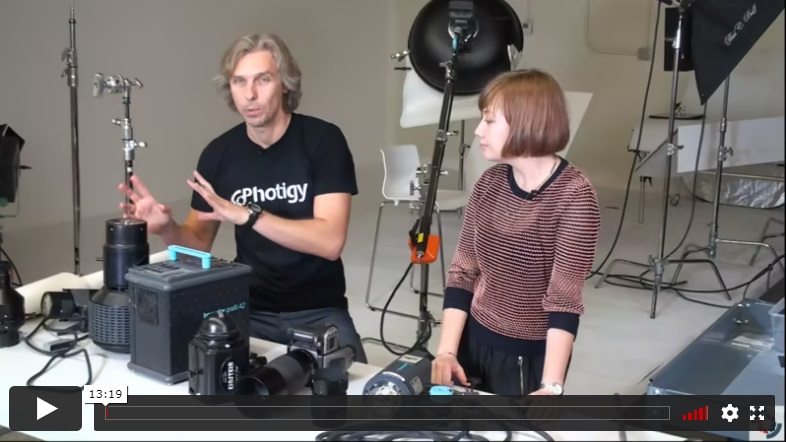
Kristina explains her choice of gear for the shoot, going with a medium format Hasselblad camera and Broncolor lighting. She also discusses why she will use a beauty dish to illuminate the model and strip boxes for rim lighting. Alex shares lighting options to create defined lighting on the jewelry, comparing an expensive fresnel option with a much more affordable adapter that can be used with a camera lens and speedlite and explains his choice of stands and camera mounts for the shoot.
03
Makeup and Hair
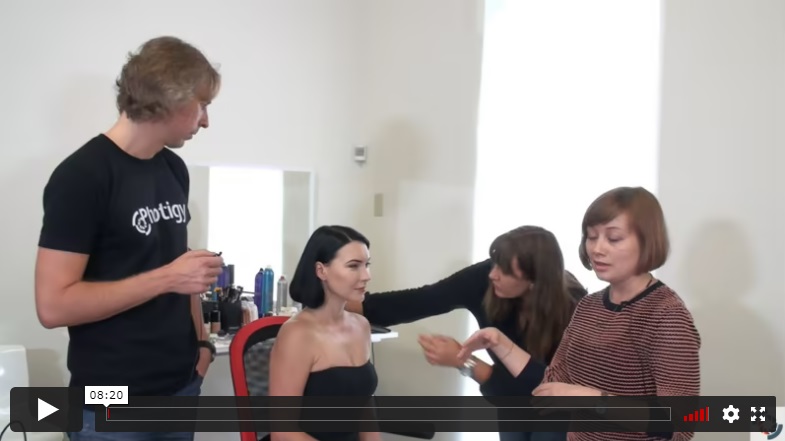
Kristina discusses the importance of using professional hair and makeup stylists and what to look for when reviewing a stylist's portfolio to ensure you hire the best you can afford. She also discusses the importance of choosing the right wardrobe for the model to ensure a consistent "story". The hair stylist also shares her views on what to look for in a stylist's portfolio.
04
Lighting Setup
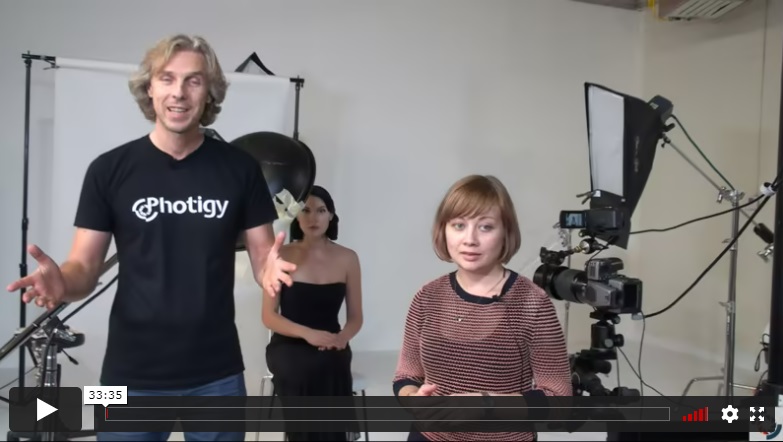
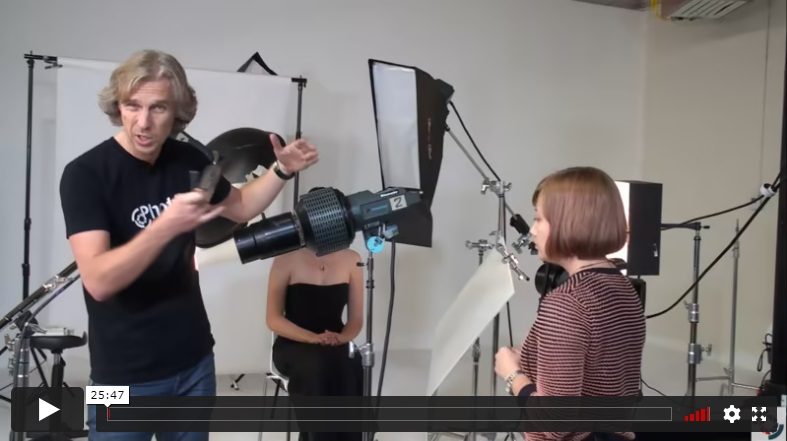
Kristina walks through her lighting setup and makes adjustments as she shoots some tests with the model.
05
Model and Jewelry Shot, Part 1
With the model lighting basically ready to go, Alex introduces the special lighting he will use to illuminate the jewelry. Through testing, Alex refines the lighting on the model's necklace and discusses how to position the light to get the best results.
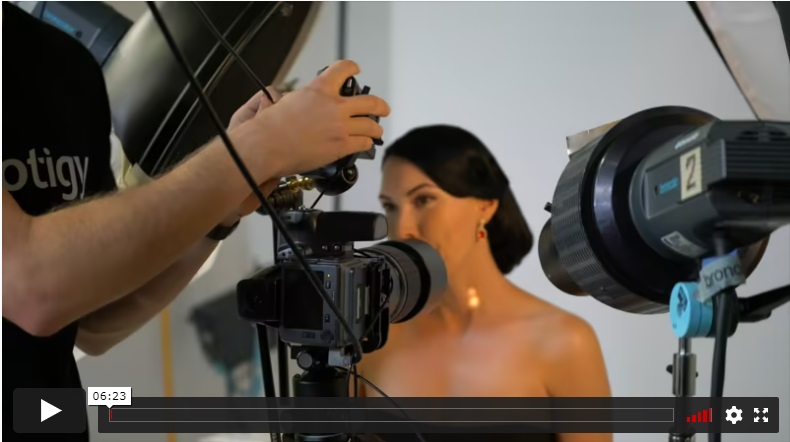
06
Model and Jewelry Shot, Part 2
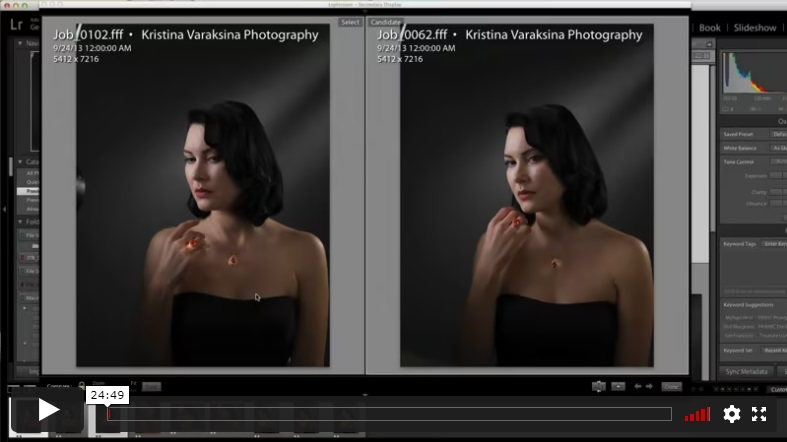
In this final shooting lesson, Alex concentrates on shooting a closeup of the model's earrings and then does an extra shot featuring both the earring and a gemstone ring by placing the model's hand near her face.
07
Post-Production, Part 1
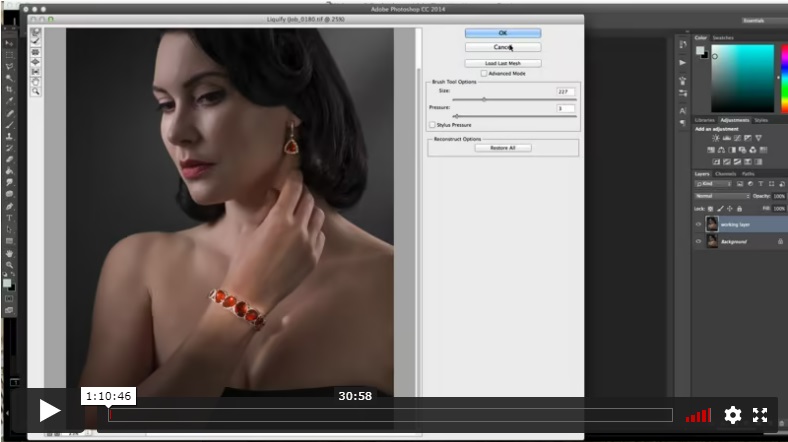
Kristina begins the first post-production lesson by discussing her criteria for selecting shots to be retouched. After making her selections, Kristina establishes her crops for each selection and explains what to look for and why to crop. She analyzes the images in Adobe Lightroom and makes her intial adjustments to the raw files.
08
Post-Production, Part 2
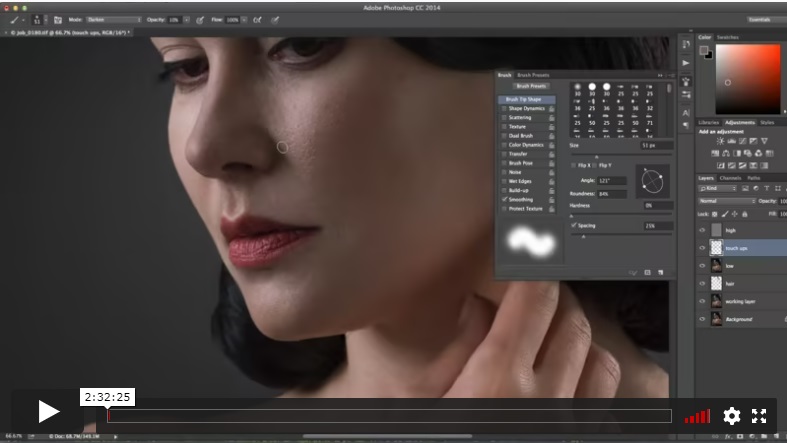
In this lesson, Kristina continues the post-production, bringing the images into Photoshop. In the first image, she demonstrates how to smooth some of the lines of the model's face, hair and hand using the Liquify Tool, keeping her refinements subtle. She then illustrates several techniques for cleaning up the model's hair.
09
Post-Production, Part 3
In the final post-production lesson, Kristina demonstrates several techniques for retouching the model's skin and eye before cleaning up the gemstones in the jewelry, adjusting the contrast of the background gradient, and adding the right amount of grai n to the overall image.
DURATION
5 hours, 45 minutes
LEVEL
Beginner
INCLUDES
Post-Production Lesson
⭐⭐⭐ STARTER SERIES
Jewelry Workshop with Model + Post Production

Individual course purchase v.s VIP Membership:
One-time payment
Best for long-term access, more DIY approach
$145
One-time payment
-
Lifetime access
-
Weekly Q&A
-
24/7 Email Support
VIP Membership
Best for ongoing learning
$12.5
per month, Annual $150
-
Unlimited access to all courses
-
Weekly Q&A
-
Priority support
FAQ
Most frequent questions and answers

Yes, you can ask an instructor, as well as get a feedback on your work. We have a support forum for this course where you can ask questions, get answers, and feedback from your instructor.
You will have 24/7 access to course videos, forums, and reviews on the Photigy.com website. It is optimized for mobile as well, and we stream from the worldwide cloud to ensure a worry-free learning experience.
You’ll have lifelong access to the course. There is no limitation on this.
All course students have access to a private forum dedicated to support. This is the place where Photigy instructors answer students’ questions, and students can share their own experiences and solutions.

Photigy School Of Photography 2020