About the Course
Are you ready to take your jewelry photography business to the next level?
This course will help you to create stunning, high-definition 360° videos for online marketing and in-store video presentations. In this course, Alex Koloskov will show you how to make these videos for any type of jewelry: rings, bracelets, necklaces, and even earrings.
What you'll learn?
Selling jewelry online becomes more and more popular every day. That’s why major jewelry retailers now more than ever want to enhance the online browsing experience. This tendency creates a whole new niche for product photographers, where they can express their creativity and make more money.
We are proud to present you our new unique Jewelry 360 Video Course, where we’ll teach you all the secrets of creating stunning videos of bracelets, rings, and more…
What skills will you get?
How to choose the right gear
You’ll learn how to choose the proper equipment, setup your camera, and lenses. Besides, we’ll help you to pick turntable and will show you how to use it.
How to shoot on different backgrounds
We’ll show you how to use various backgrounds to accentuate your products, including bracelets, rings, and pendants.
How to make the final preparations
This part will cover the finishing parts of your post production process, such as choosing music and exporting your video.
How to setup the most flattering lighting for various types of jewelry
We’ll cover the lighting specifics for different kinds of jewelry, as well as will show you how to use light modifiers to make them pop.
The secrets of post-production
Using the right software for post production is one of the key elements of creating a breathtaking video. We’ll walk you through the most famous ones such as Final Cut and Apple Motion. Along with explaining how to perfect your product, clean the dust, polish gemstones, and eliminate small defects.
Course Curriculum
Course includes 4 module and 30 video lessons
Part 1: Choosing a Right Gear
In this section, Alex walks you through the necessary gear and explains where you can get the specialty equipment to be successful with the course.
01
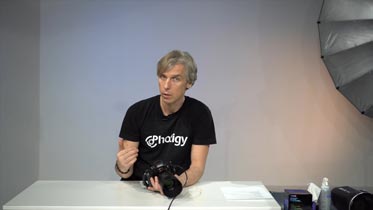
Camera and Lenses for 360° Video Making
Learn whether your existing camera can be used for video production and how to set it up for a video recording. Camera settings, video formats are explained.
02
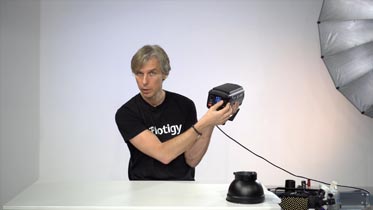
Options on Lighting Systems for Video Production
In this lesson, Alex talks about what video lights work well for this task, as well as the pros and cons of each light type. He covers different price options, from inexpensive, non-professional lighting to the best-in-class that can be used for this type of video production.
03
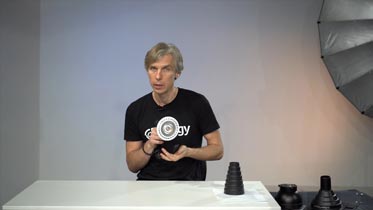
Selecting and Making Light Modifiers for 360° Video
This lesson is all about what light modifiers can be used to work with LED lighting for 360 jewelry video making. Both ready-to-use and DIY options are covered in this lesson.
04
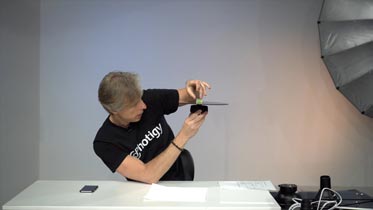
Turntable for 360° Jewelry Video Making
This lesson reviews turntables for 360 video making. Alex compares different brands and explains what characteristics are important for turntable devices and why.
05
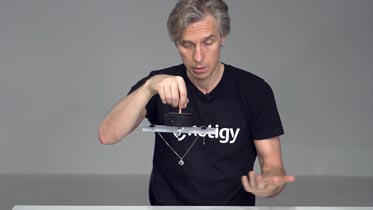
Making a Shooting Rig for Necklace/Pendant Videos
This lesson covers a DIY setup for filming necklaces and pendants.
06
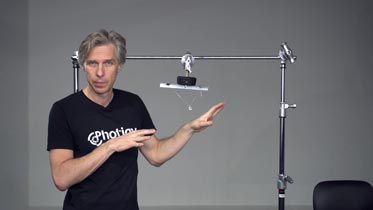
Making Necklace Rotation
In this practical lesson, Alex demonstrates how to set up and film a necklace. He explains what you as a photographer need to be aware of, what will work and what won’t.
07
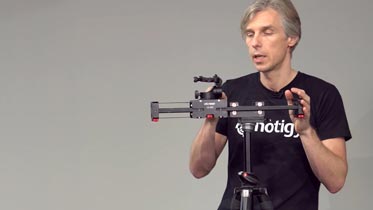
Final Thoughts
Alex summarizes what was learned in previous lessons and shows various DIY options for light modifiers that can be used for 360 videos.
Part 2: Shooting
Alex covers how to set up the lighting, choose camera settings, find the best angles, and many other practical considerations.
08
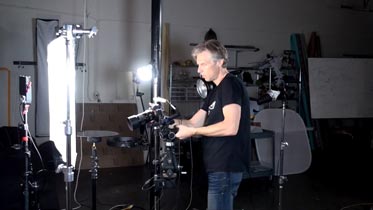
Part 1
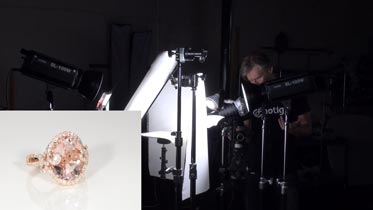
In this lesson, Alex begins the preparations for filming a pink gold ring on a white background and builds a lighting setup that creates a pure white background for filming 360 videos.
09
Part 2
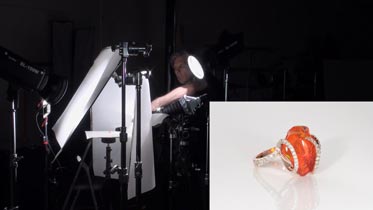
Alex continues working with the gold ring on a white background, exploring the tweaks that make a big difference in the final output.
10
Part 3
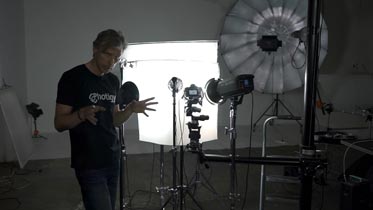
In this lesson, you’ll learn how Alex filmed a red ruby with a diamond ring. Learn what adjustments need to be made to the previous lighting setup in order to work with a different ring.
11
Part 4&5
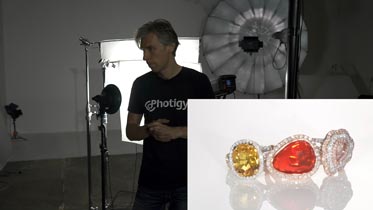
Learn how to shoot both a fire opal and a moonstone ring.
12
Part 6
In this lesson, Alex explains how he filmed three rings all together on a white background. You will learn how to use lighting on multiple subjects with glossy metal and shiny gemstones.
13
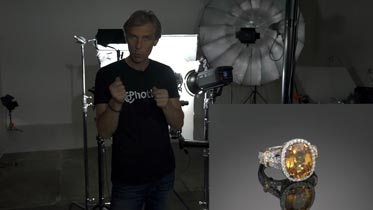
Part 7
This lesson covers shooting a zirconium gold ring on a glossy black background. You will learn how to use lighting to create a dramatic view of a jewelry subject.
14
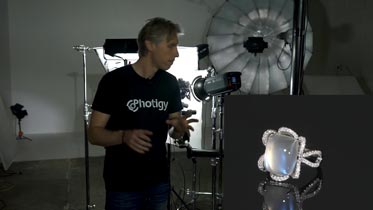
Part 8
In this lesson you will learn how to film a moonstone diamond ring on a black background. Although similar to a previous lesson, here Alex will demonstrate how to properly highlight the moonstone set in jewelry.
15
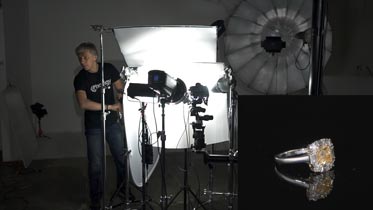
Part 9
This lesson presents another version of shooting a diamond ring on a completely black glossy background. See how the darkness of the background helps to bring sparkles and shine through the jewelry piece.
16
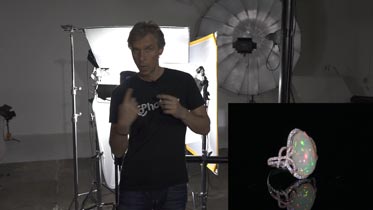
Part 10
In this lesson, Alex shows you how to video the same fire opal ring on a black background that he originally shot on white. You will learn the differences in the lighting setup when recording the same subject on a dark background.
17
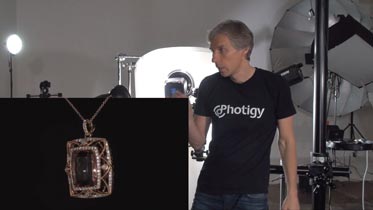
The Making of Necklace, Part 1
In this lesson, Alex was using a low-end crop sensor camera to capture video of a large diamond pendant on the black background. You will learn the difference between using high-end cameras and low-end cameras with smaller sensors, as Alex discusses the advantages and disadvantages of both for filming 360° jewelry videos.
18
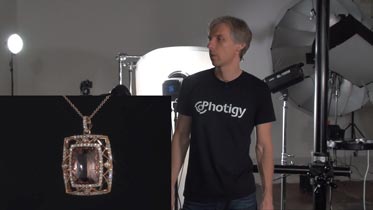
The Making of Necklace, Part 2
Alex continues with shooting the pendant on a black background. You will learn why he uses special filters to bring dramatic effects to record 360 jewelry videos.
19
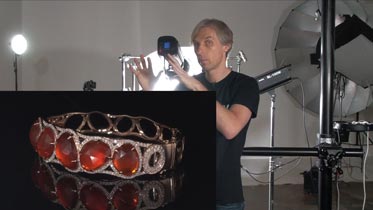
The Making of Fire Opal Bracelet
In this lesson, you will learn how to film a fire opal bracelet on a glossy black background.
20
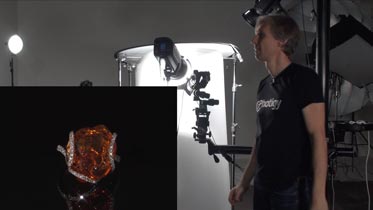
The Making of Fire Opal Ring
In this lesson, Alex shows you how he filmed an opal gold ring on a completely black glossy background with special filters that he used on the camera.
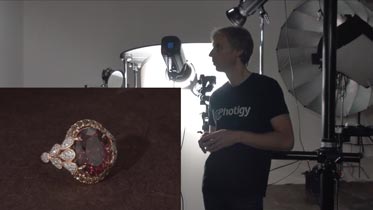
21
The Making of a Ring on a Paper
In this lesson, Alex demonstrates filming an open arena on a paper background. This is more of a creative style of filming 360° videos of jewelry, highlighting the value in exploring as many techniques as possible.
Part 3: Post-Production
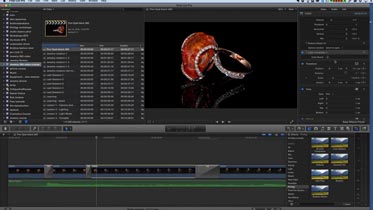
In this lesson, you will learn how to cut your footage in non-linear video editing software (Final Cut Pro X) and create beautiful short movies.
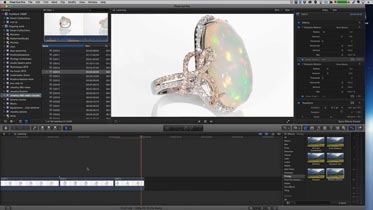
22
Part 1
In this post production lesson, Alex talks about the software he used to process the videos and the advantages and disadvantages of using Final Cut Pro X and some available plug-ins for it to produce 360 videos of jewelry rotation.
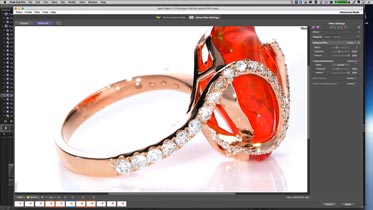
23
Part 2
In Part 2 of this post-production lesson, you will learn about noise reduction for videos of jewelry rotation and how to use it to enhance the look and feel of the jewelry.
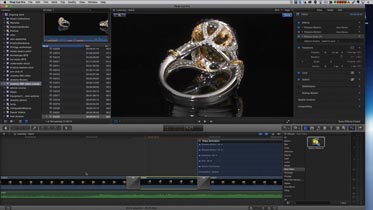
24
Part 3
In Part 3, learn how to use masks in Final Cut Pro X to selectively adjust the look of different parts of jewelry. This is a very powerful technique that makes a huge difference in the end result.
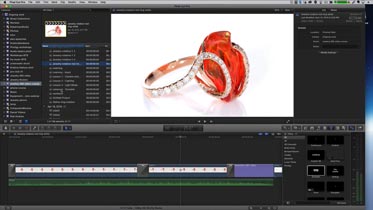
25
Part 4
In this lesson, Alex covers the final steps of video production, demonstrating how he uses Apple Motion to bring special adjustments into Final Cut and apply them as the final touches to the video.
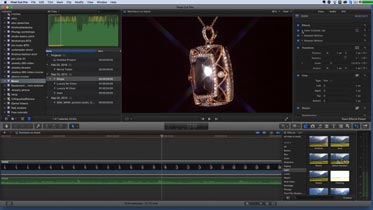
26
Part 5
This lesson covers the post-production of the pendant on the black background. Learn the difference between making the video on a dark or completely black background versus a white background.
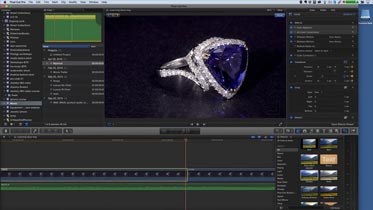
27
Part 6
This lesson covers the video post-production of the blue gemstone diamond ring on a dark paper background.
You will learn how to read time encoding, speed up and zoom in/zoom out on your videos using Final Cut Pro X.
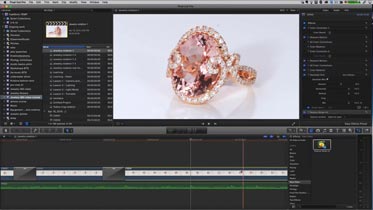
28
Bonus, Part 1
This bonus lesson covers a noise reduction filter that works wonders when it comes to bringing out the shininess of the metal and polishing it to make it look free of scratches.
29
Bonus, Part 2
In this bonus lesson, Alex talks about enhancing the look of small diamonds and other gemstones to make them look bright and full of sparkle.
Part 4: Intereactive Session
30
360° Video Course. Q&A Session
This lesson is the result of a “Question and Answer Live Webinar” Alex conducted, answering questions from course students. You will learn how to overcome the most frequent issues that photographers face when filming 360 jewelry rotation videos.
DURATION
6 hours, 47 minutes
LEVEL
Advanced, Professional
TYPE
Shooting, Post-Production
⭐⭐⭐ SIGNATURE SERIES
360° Video for
Jewelry Photographers

Individual course purchase v.s VIP Membership:
One-time payment
Best for long-term access, more DIY approach
$195
One-time payment
-
Lifetime access
-
Weekly Q&A
-
24/7 Email Support
VIP Membership
Best for ongoing learning
$12.50
per month, Annual $150
-
Unlimited access to all courses
-
Weekly Q&A
-
Priority support
What is the learning experience looks like?
24/7 ACCESS TO LEARNING MATERIALS
Watch your lesson at your convenience, from any device including tablets and smartphones.
PHOTOGRAPHY ASSIGNMENTS
You have to complete homework (practical photography) for every module on this program. Total 16 assignments.
VIDEO FEEDBACK FROM YOUR INSTRUCTOR
You’ll be getting a recorded video feedback for every shot you’ll submit for the review. Also, everything can be discussed on a private forum with the instructor and course students.
NEXT MODULE OF THE COURSE
Once finished the module and got your homework reviewed by your instructor, you’ll advance to a next one
LED LIGHT SOURCES:
LIGHT MODIFIERS:
Turntable for 360° (more details about the turntable are provided in a course)
Additional props
Reviews
See what other people have to say about their learning experience

Photigy School Of Photography 2020
